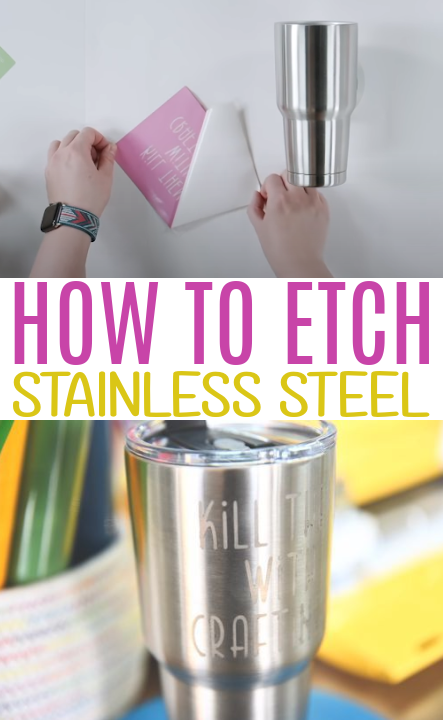
How to Etch Stainless Steel
Disclosure: Some of the links below are paid links provided for your convenience. This means, at no additional cost to you, we will earn a commission if you click through and make a purchase
Etching stainless steel has been a hot topic for quite a while in the crafting world, but recently, it seems to be growing even more in popularity. In this tutorial, we’re going to show you how to make a stencil with your Cricut machine and then, How to Etch Stainless Steel. If you love making tumblers, you’re going to love this technique!
We are really excited to show you our stainless steel etching technique. We’ve been working on perfecting this so we could show you the perfect way to do it. If you’re a Cricut beginner, this is a great introduction to learning how to make vinyl stencils as well.
It’s important to note that etching glass and etching stainless steel are completely different processes. They use different products to complete the etching process. Keep reading to find out just how to etch stainless steel.
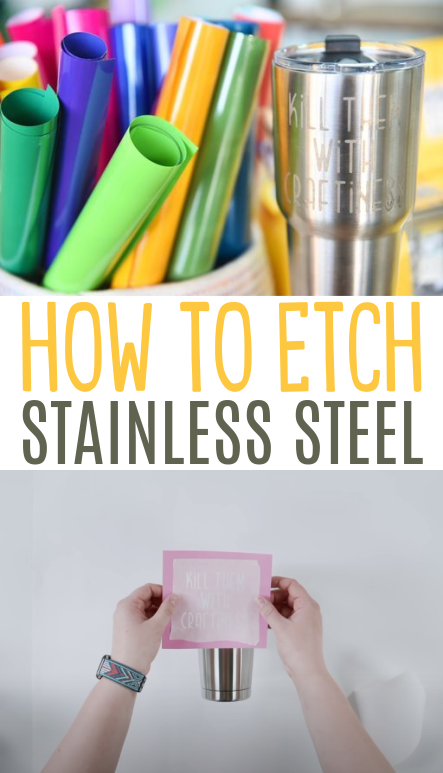
How to Etch Stainless Steel
You might be wondering what etches stainless steel and we are going to show you in the craft tutorial below. Etching stainless steel tumblers is a longer-lasting solution than simply adding vinyl and it gives your finished product a different look that is quite polished and sophisticated. If you’re looking for a special, personalized gift idea, this is ideal for any occasion.
We think these would be especially good for a graduation gift or as a gift for someone starting a new job. How about making a pair of them as a wedding or anniversary gift?
Supplies Used:
- Cricut Maker
- Cricut StandardGrip Mat
- Starcraft Vinyl
- Oracal 631
- Our Favorite Weeding Tool
- Vinyl Gloves
- Alcohol Pump Bottles
- Poster Board
- Tumbler
- Cotton Balls
- Baking Soda
- This is the brand we used>>>Ferric Chloride
- Other Options: 1) Ferric Chloride
- 2) Ferric Chloride
- 3) Ferric Chloride
Looking for more great tumbler crafts?
Instructions for etching stainless steel:
There are many different stainless steel etching techniques that can be used, but we are etching stainless steel with ferric chloride and cotton balls. Out of the many different ones we tried, this was our favorite. We are using a tumbler for this project but obviously, this same technique can be used for other stainless steel items.
Shoutout to Mr. Crafty Pants who made an amazing video on stainless steel etching. We learned so much from him!
Begin in Cricut Design Space:
Begin by heading into Cricut Design Space. We searched on Pinterest for some fun crafty phrases as inspiration for the quote on our tumbler. Simply type that phrase into Design Space and change to your desired font. We’re using the font Westlan from our membership here on Makers Gonna Learn.
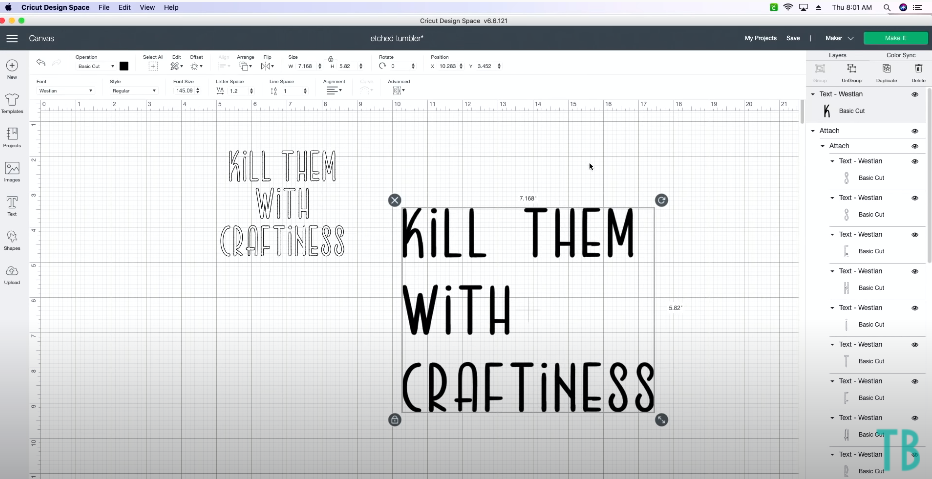
Next, with our text selected, we decreased the Line Spacing to bring the words closer together. Line Spacing is located in the menu at the top of your screen in Design Space.
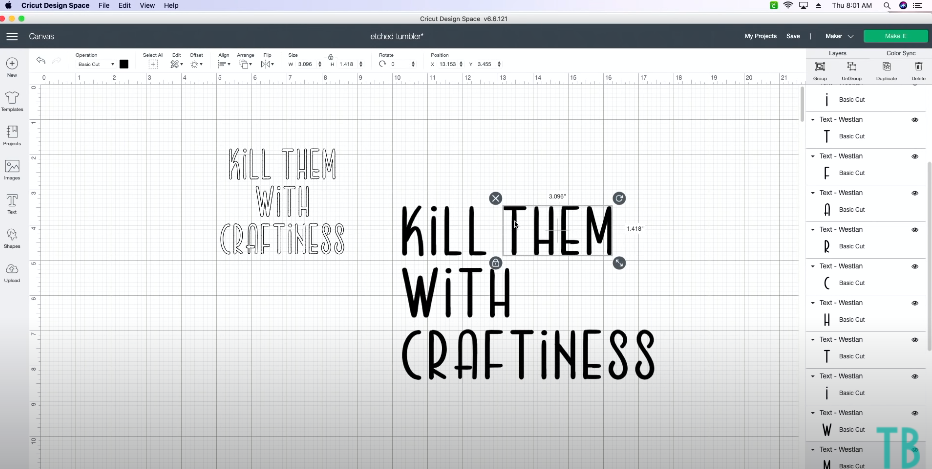
Now, we want some of the words in each line closer together. So, to do that, with the text selected, we’re going to choose Ungroup over in the Layers Panel. Once you’re happy with the placement of the words, select each word one by one and choose Attach in the Layers Panel.
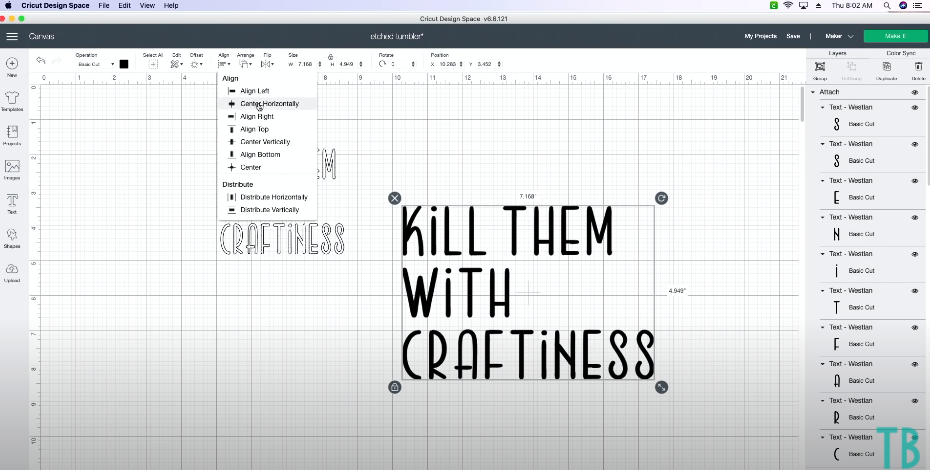
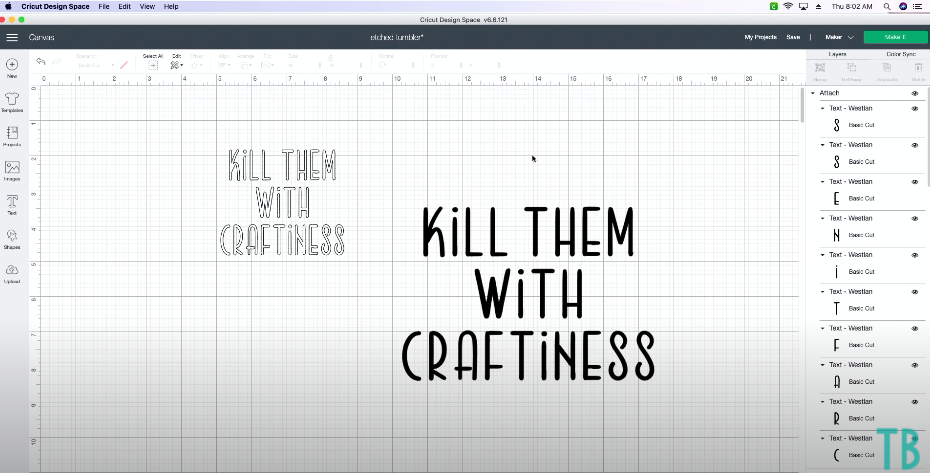
Select all of the words and go up to the top menu. Choose Align. Center Horizontally. With all of the words still selected, choose Attach.
Be sure to measure your tumbler to determine how big to make your design and size it accordingly. You don’t want to make your design too big or too long when placing it on a rounded surface like a tumbler or you can get some distortion.
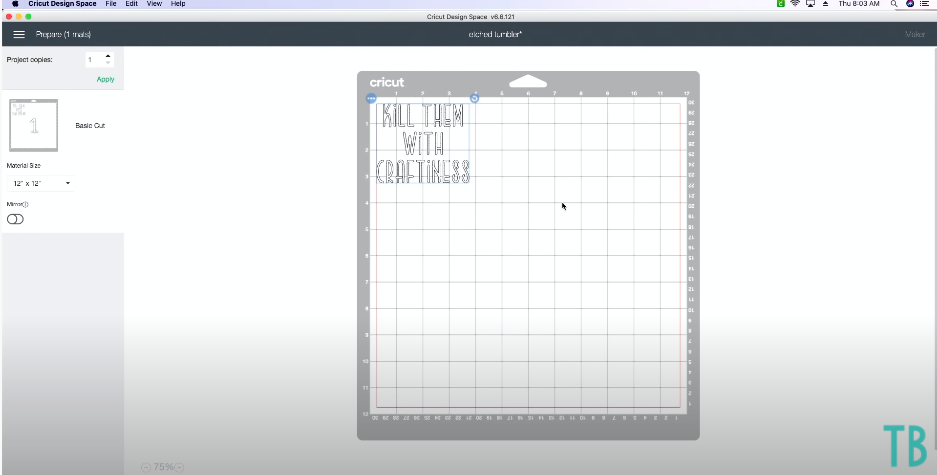
Get Ready to Cut Out Your Design
Click Make It. Much of the time when making a design, we will leave it where Cricut Design Space has placed it on the mat. But, in the case of stencil and especially when etching, you want a border around your design so we’re going to move ours to create that bit of wiggle room.
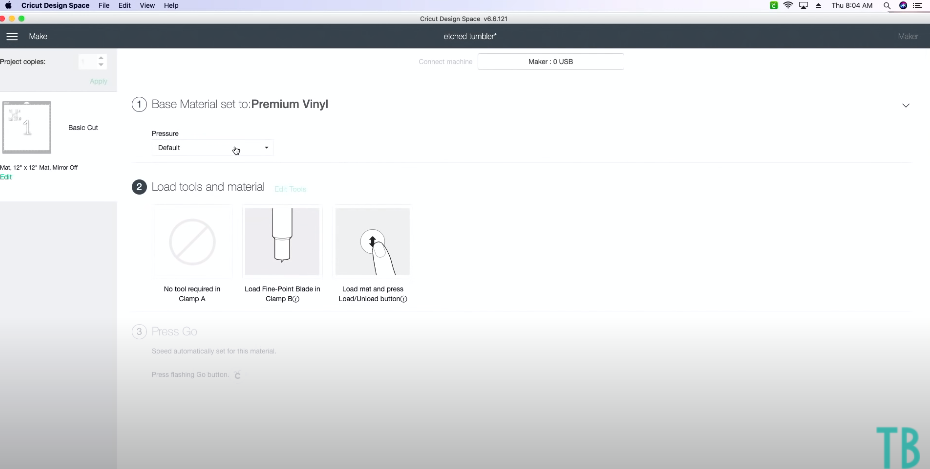
Click Continue and select your materials. We’re using Premium Vinyl today.
Time for Cutting:
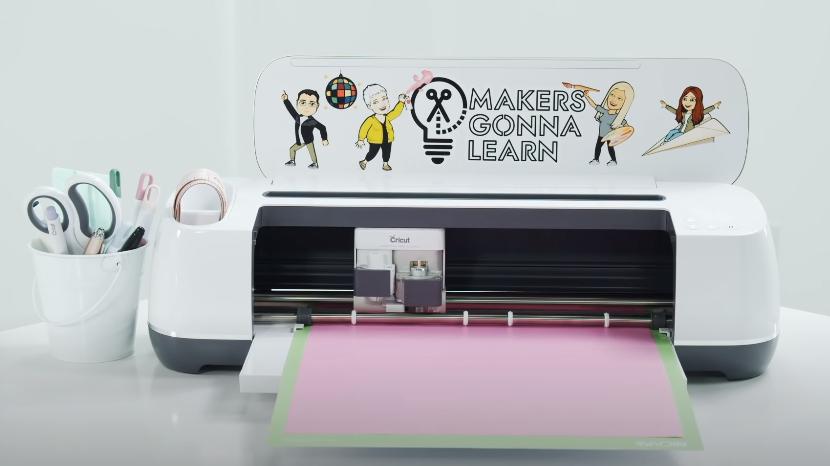
Place your vinyl on your cutting mat. Load the mat into your machine. Press the flashing Cricut button and let your Cricut machine do the work of cutting out your design.
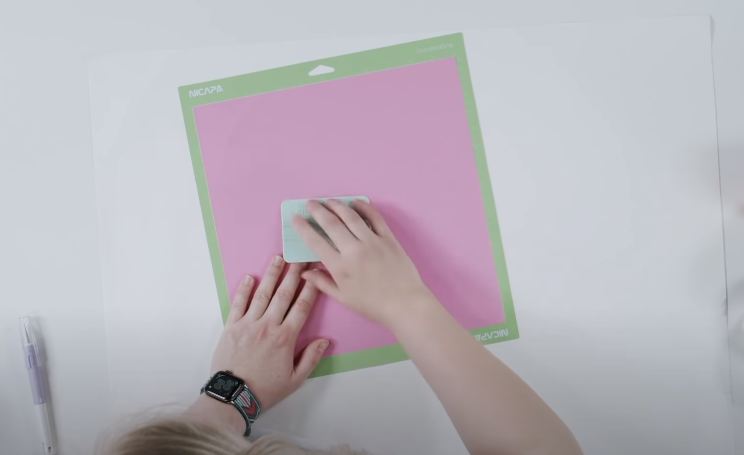
Remove the mat from the machine and burnish the vinyl to the mat.
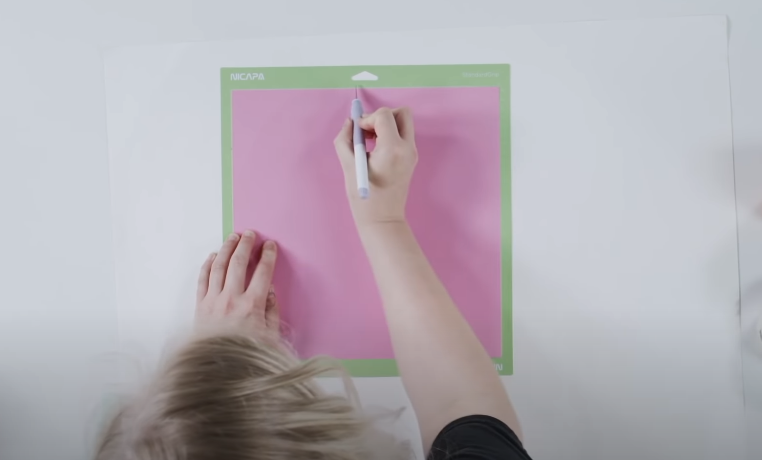
Trim away the excess vinyl, remembering to leave a good border around your design, and save the scraps for another project.
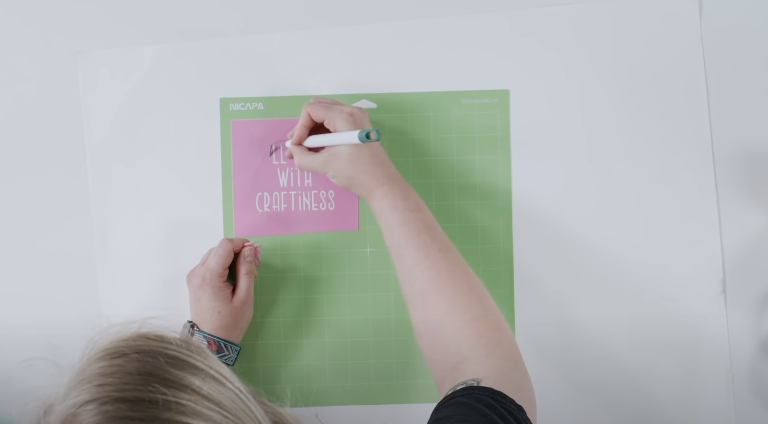
Next comes weeding!
Weed your design. Remember that this is going to be a stencil so you are doing the opposite of what you normally do – you need to remove the letters and leave the rest of the vinyl behind.
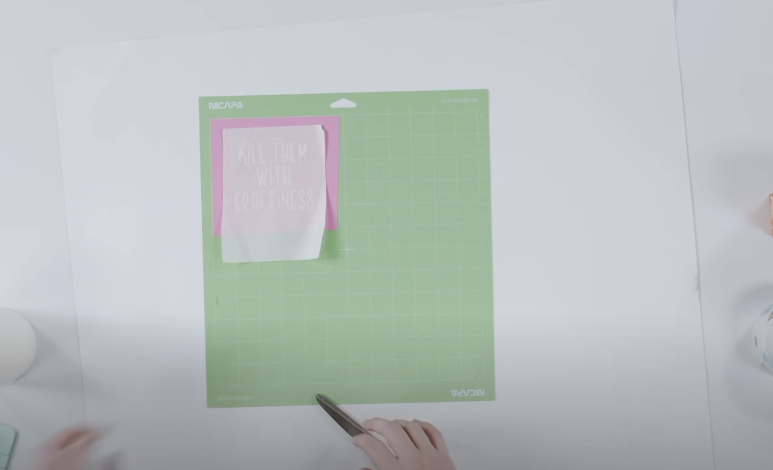
Apply transfer tape over your design and burnish. Turn the cutting mat upside down and peel it away from your design. Burnish your design again from the back. You can’t burnish too much!
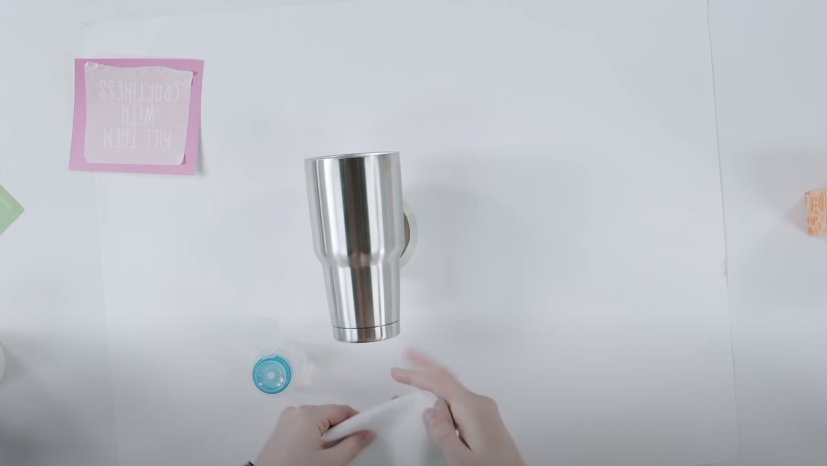
Prep your stainless steel tumbler by cleaning it with rubbing alcohol on a paper towel. This helps remove any dust and debris as well as any oils from your fingerprints.
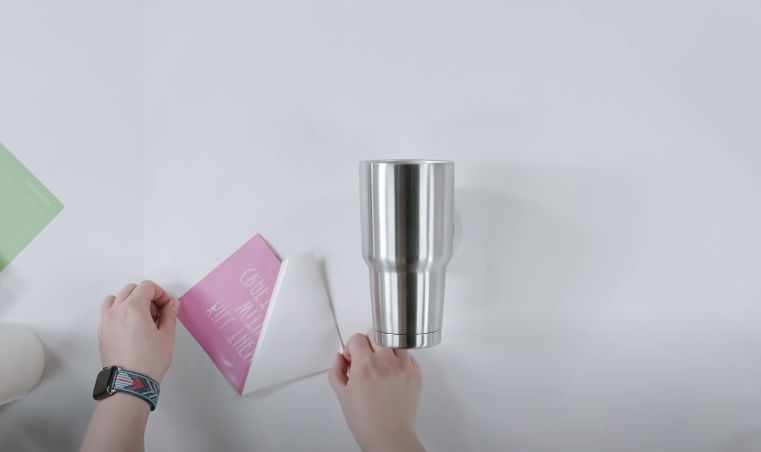
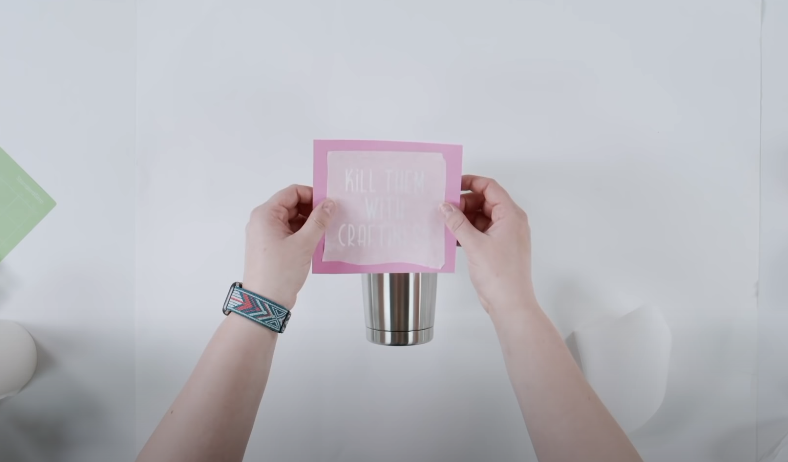
The etching process:
Peel the backing off your design. Place your design down onto the tumbler, lining it up as you wish. You want it adhered really securely so use your scraper tool to burnish it well. You need a really good seal around all of the letters for the etching process.
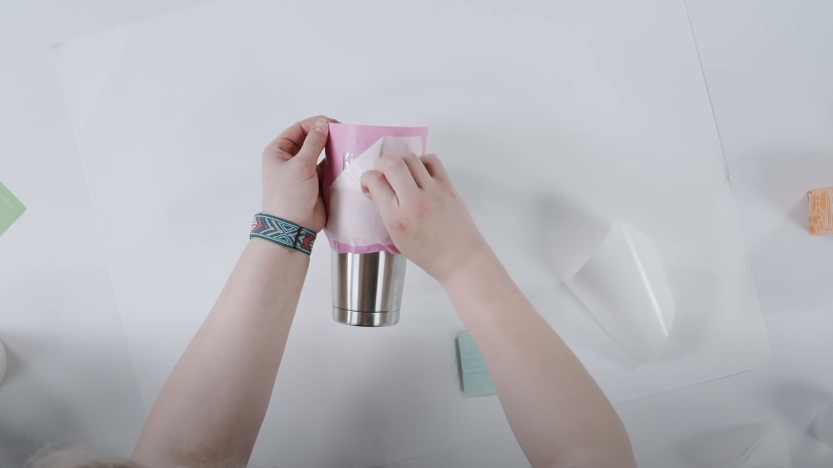
Peel up the transfer tape.
Before you begin the etching process, be sure to put on gloves. You may want to wear a mask to protect yourself against fumes and safety glasses to prevent any splashes in your eyes. We highly recommend taking all possible precautions and working as safely as you can!
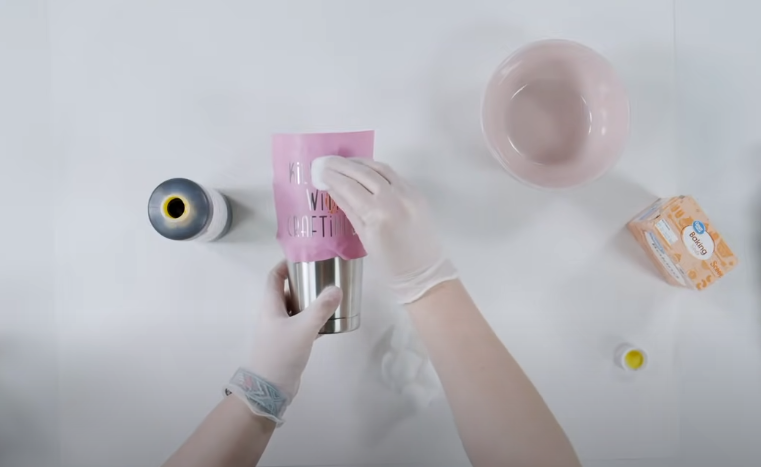
Time to Use the Ferric Chloride
Use a cotton ball to dab on some ferric chloride onto your tumbler. Make sure you dab it over the entire design. We’re going to repeat this process several times over the course of 10-15 minutes or so. Don’t get too much of the ferric chloride on your cotton ball. You want a good amount but you don’t want it dripping.
Once it’s coated, toss that cotton ball in your bowl and grab a fresh one. You can wait a minute or two in between coats, but there is not need to be really precise with timing it. Repeat the process of dabbing on ferric chloride. We did this a total of 5 times.
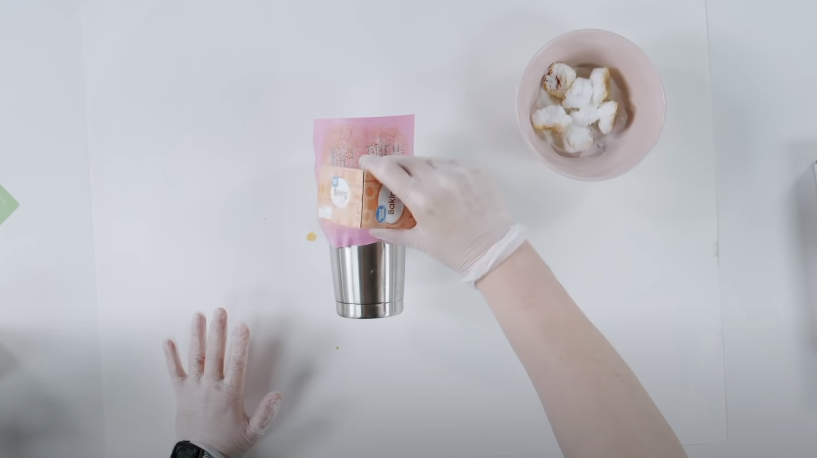
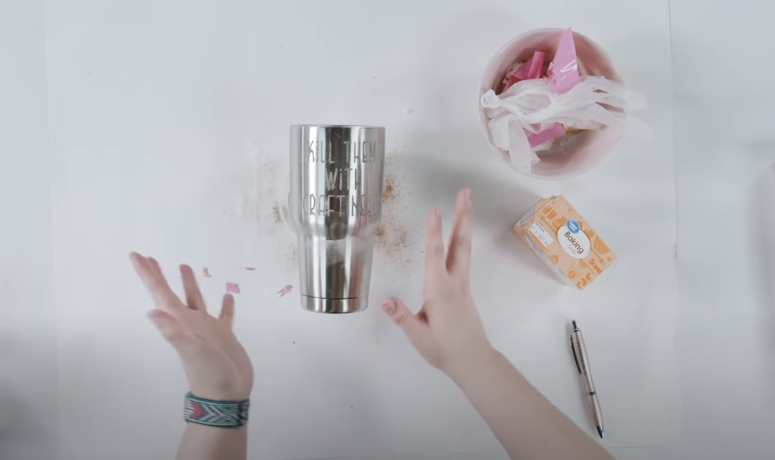
Once you have finished with this, sprinkle baking soda over the cotton balls in the bowl. This will help neutralize the ferric chloride. Sprinkle baking soda over your design on the tumbler as well. Rub the baking soda in a bit over your design on the tumbler.
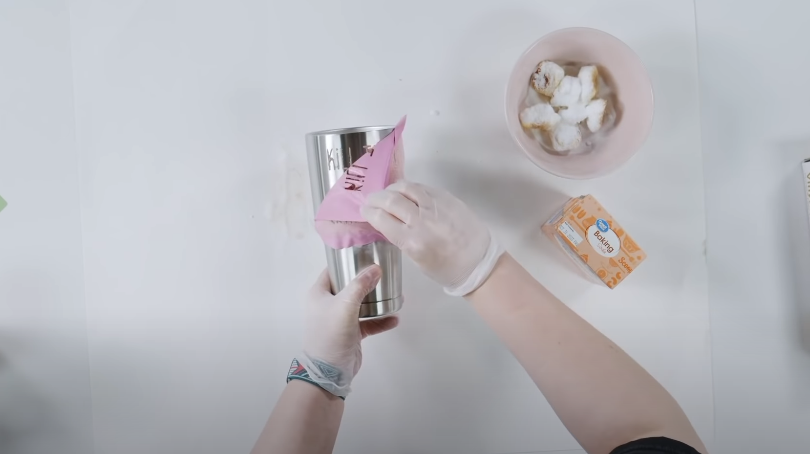
Peel the vinyl stencil away from the tumbler. You might need to use a weeding tool to get some of the smaller bits. Wash the cup really well with some soap and water. Wipe it dry with a paper towel.
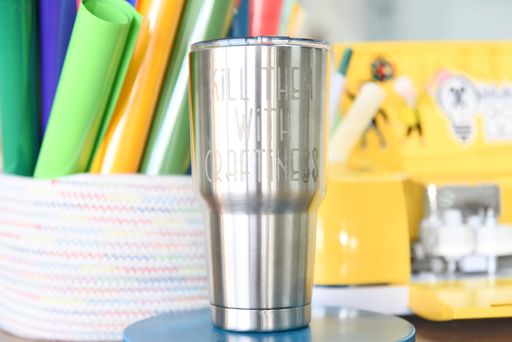
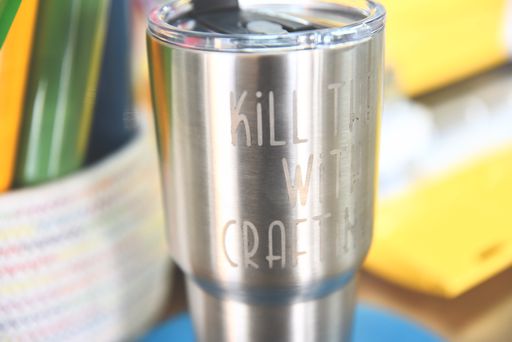
Isn’t it beautiful? This is such a simple technique for etching stainless steel that you can use for so many projects. Now that you know how to etch stainless steel, what will you make?
Want to learn more about etching?
How to make a stencil with your Cricut
A beginner’s guide to using etching cream