

Using Cursive in Cricut Design Space
Quick answer: To use cursive script fonts in Cricut Design Space, you need to Weld the letters together, not Attach them. Script letters must connect in one fluid motion, as if you were writing them on paper, and Attach only holds letters together temporarily so they still cut out as separate layers. Welding combines the letters into one layer so they cut out as a single, flowing piece. You can confirm it worked by checking the Layers Panel, where a welded word shows as one layer while an attached word shows a separate layer for each letter.
One of the biggest issues we see Cricut beginners having is working with fonts incorrectly. Mastering fonts is not difficult, but it does take some understanding of how it all works. This is especially true when Using Cursive in Cricut Design Space.
We see so many crafters who are new to working with script fonts who put together their projects and then say, “hmmm, something doesn’t look right!” If you have only been working in monotype text, you haven’t encountered this issue before. All of the letters work separately from each other. Not true with script. With it, you need to know how to connect cursive letters in Cricut Design Space.
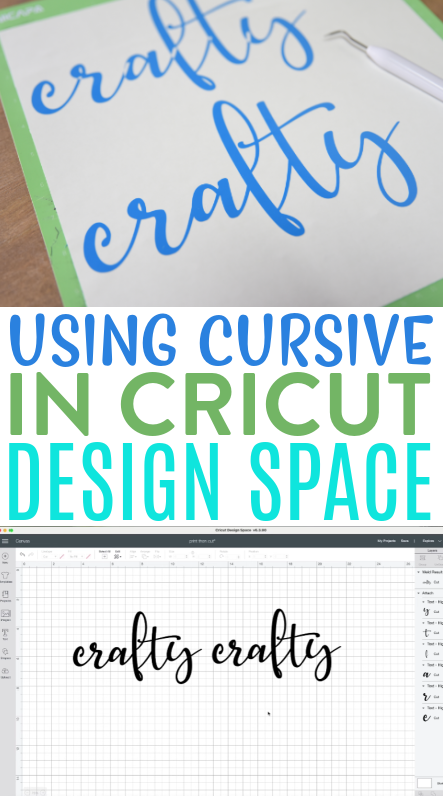
Using Cursive in Cricut Design Space
You might think, “oh that’s easy. I can just attach these together.” Unfortunately, that’s not how it works. Your letters in a script font need to be attached in one fluid motion (as if you were writing them on paper). You can’t achieve that simply by using Attach. Attach is like using a paper clip. It will hold your letters together, but only temporarily. They will still be cut out individually, as separate layers.
Welding, however, will combine each of the letters into one layer and cut them out as one piece. This is what you need to use when working with connecting letters in Cricut Design Space.
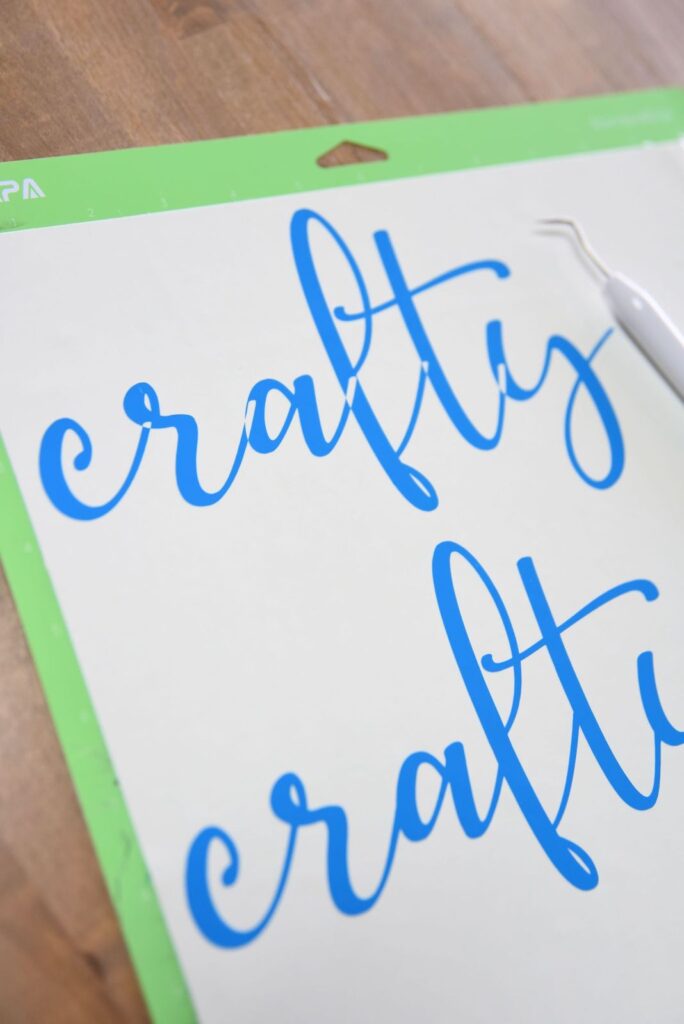
The Difference Between Weld and Attach
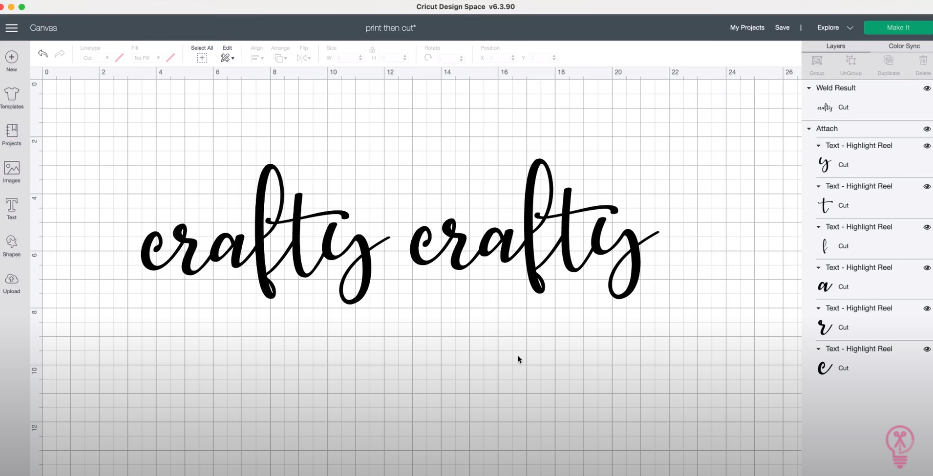
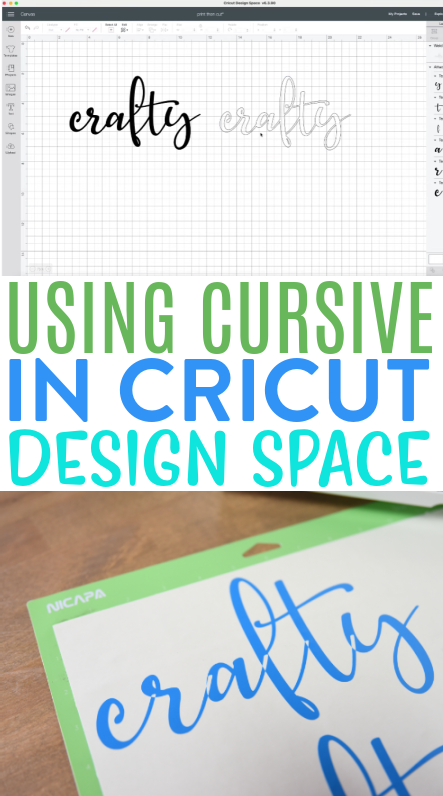
Take a look at these two words. They look exactly the same. However, when you click on each one, you can see that the one that is welded shows up in your Layers Panel as one layer. The one that is attached shows up as multiple layers – one for each letter in the word.
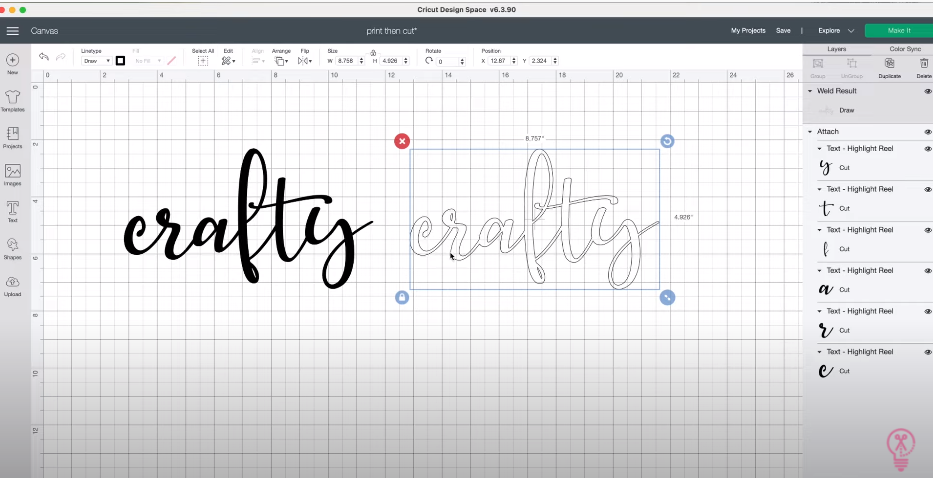
One of the easiest ways to see the difference is by changing the cut lines to draw lines. When we do that for the welded text, you can see that it’s all one fluid line forming the word, flowing from letter to letter.
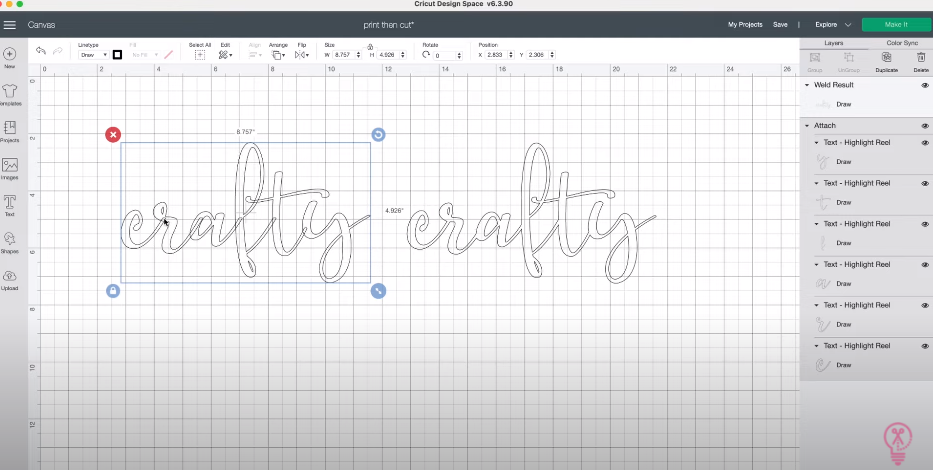
When we do the same thing to the attached text, you can see all the spots where the words should join together, but don’t. The ends of each letter are still visible going into the following letter.


This is a small step, but making sure you weld the letters together in each of your words is essential in having success with your Cricut craft projects.
Frequently Asked Questions
Why doesn’t Attach work for cursive fonts?
Attach is like a paper clip, holding your letters together only temporarily. The letters are still cut out individually as separate layers, so the script will not flow together the way it should.
How can I tell if my letters are welded or just attached?
Check the Layers Panel: a welded word shows as one layer, while an attached word shows multiple layers, one for each letter. You can also change the cut lines to draw lines, where welded text is one fluid line and attached text shows gaps where the letters should join.
What does Weld do to my cursive word?
Welding combines each of the letters into one layer and cuts them out as one continuous piece, which is what you need for connecting script letters in Cricut Design Space.
